
A few weeks ago, I taught a workshop on painting hydrangeas. I could not have chosen a more difficult image to demonstrate!
The reference I used was a stock photo. I try to use these in my workshops, so that students can show or sell their work if they wish. On sites like http://www.pexels.com and http://www.pixabay.com the photographer has given permission for their images to be used either free or at low cost. When doing my own non-class work, I always use my own photos.
The reference I used was a stock photo. I try to use these in my workshops, so that students can show or sell their work if they wish. On sites like http://www.pexels.com and http://www.pixabay.com the photographer has given permission for their images to be used either free or at low cost. When doing my own non-class work, I always use my own photos.
I recommend starting out by putting a VERY thin layer of walnut oil on your support. I neglected to do this step during this demo, which made my life a lot harder when it came to getting paint spread out evenly on the canvas in the underpainting stage.
I used a 16" x 16" gallery wrap stretched canvas as my support. To apply the thin film of oil, I sprinkled a few drops with my palette knife onto the surface and then spread with the palette knife and followed by rubbing with a small cloth rag. After that, I used a palette knife to apply dabs of paint, which I then also spread around with a cloth, sometimes one colour, sometimes several as in this case. Paper towels are not a good choice as they leave bits of lint in your paint film.
Why do I do this method? Well, I do not wish to use toxic solvents such as odourless mineral spirits for health reasons. Just because it is odourless does not mean it is benign. Mineral spirits is an easy way to start a painting, but so is this, it is just a new way of doing things, but well worth it in my opinion.
After I massed in part of the painting with transparent colours, then adding the thicker, opaque paint at the end. I did not have time to do the entire painting as it is rather large for a demo, being 16 x 16 inches square.
See the initial steps of the process below.
If you have any questions, please let me know and I will try and help!
 |
| First lay-in of transparent colours, starting with Indian Yellow spread thinly with a cotton rag |
 |
| I put in the thick, creamy white paint of the flower in light to gauge my values, but scraped it out afterward to continue |
 |
| Starting to put in background and two more flower heads plus leaves in shadow and light and another flower head sketched in upper right |
 |
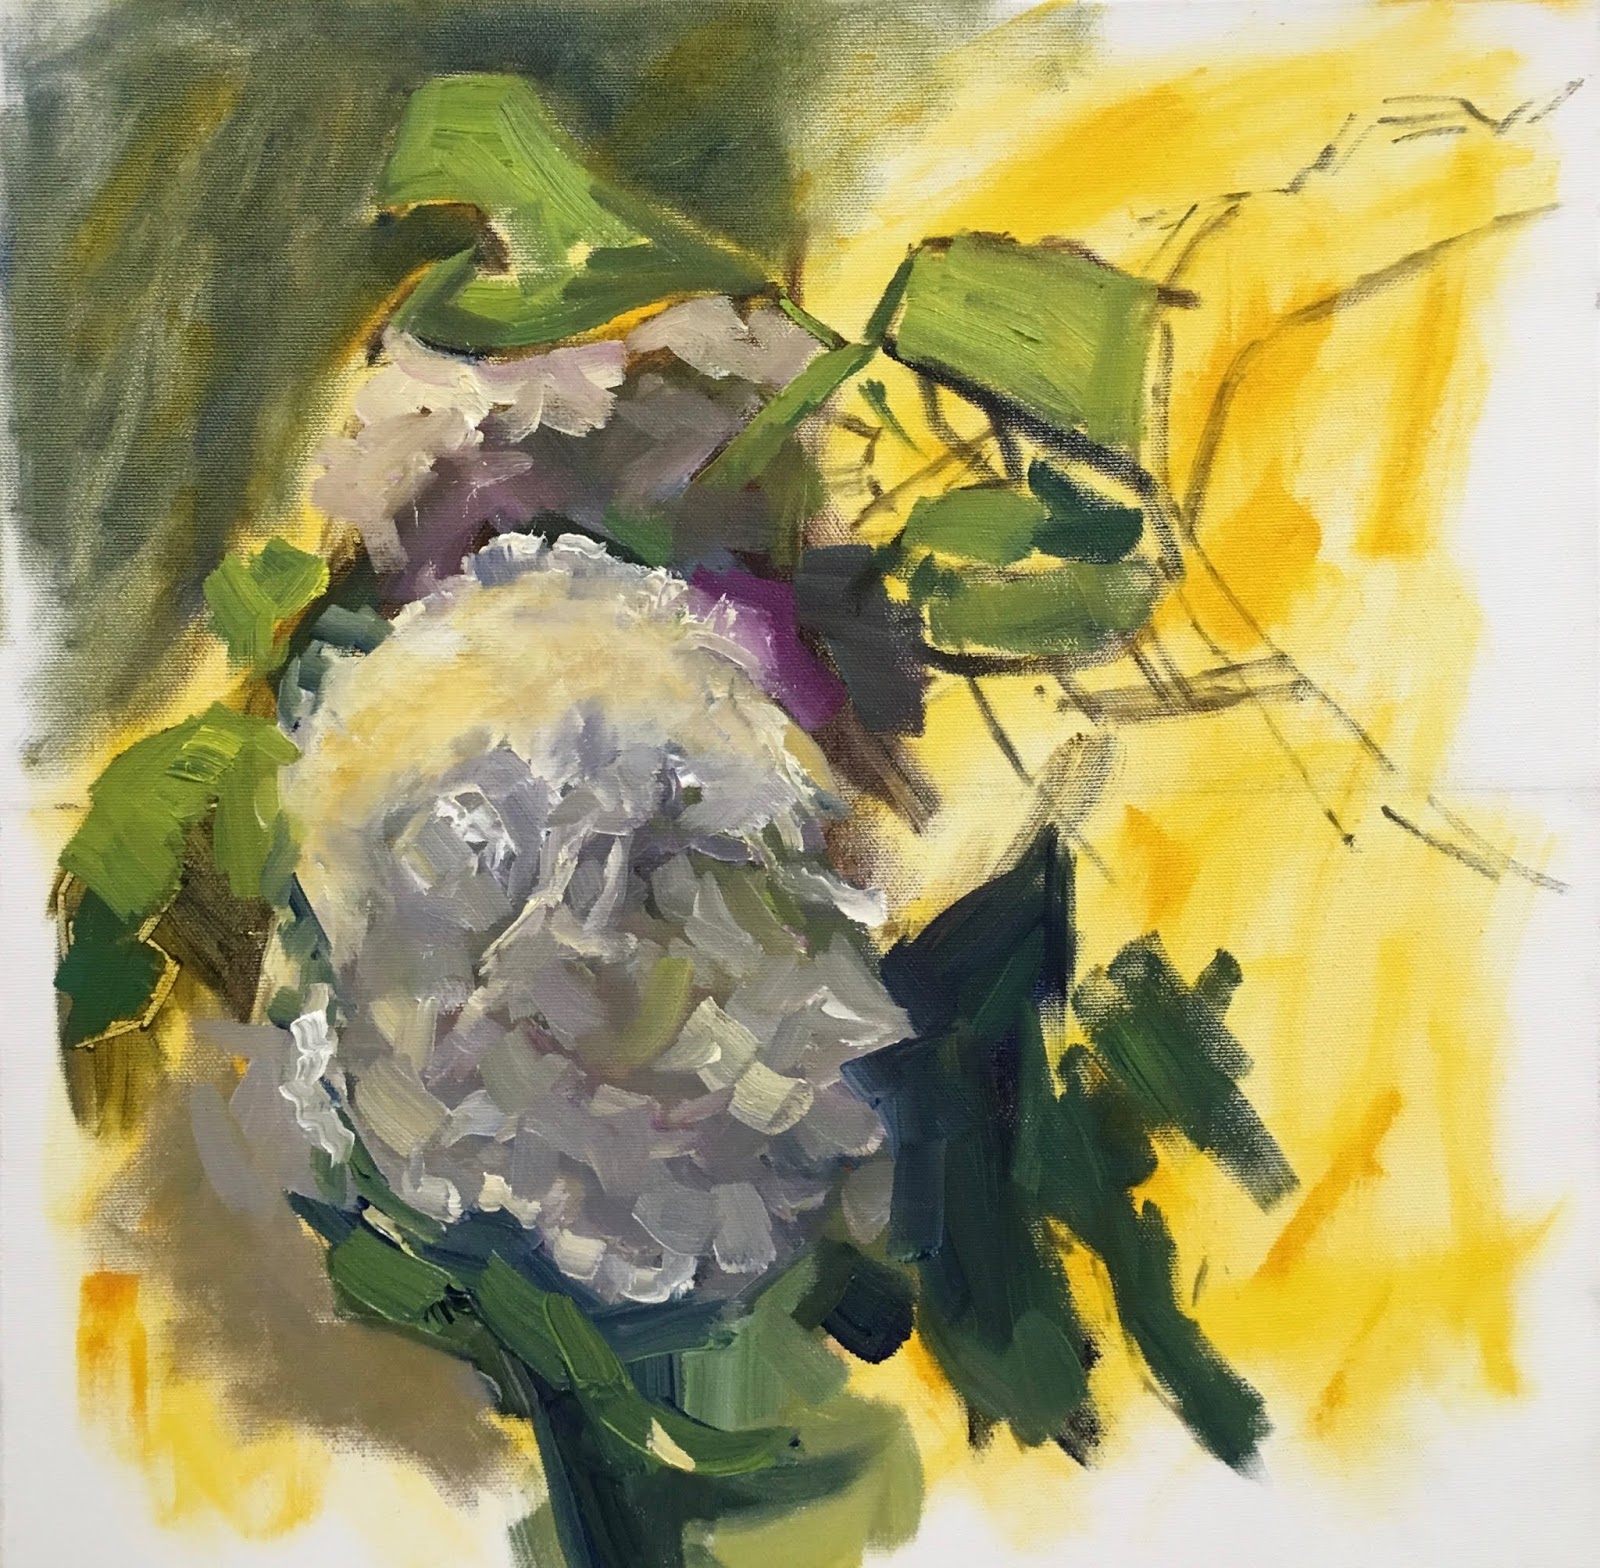
| Starting to put back the thick, light paint and some detail in the shadows |
 |
| Done! |
No comments:
Post a Comment